Excitement is building! You’ve chosen the perfect flooring – be it the warm elegance of engineered timber, the robust practicality of hybrid, or the stylish affordability of laminate – and installation day is just around the corner. To ensure a seamless and stress-free experience, a little preparation goes a long way. This blog post will guide you through the essential steps to get your home ready for your flooring installation team, ensuring a smooth and efficient transformation.
1. Clear the Decks: Removing Personal Items and Furniture
The most crucial step in preparing for your flooring installation is to completely clear the areas where the new flooring will be laid. This means removing everything. Yes, everything!
- Personal Belongings: Start by removing all personal items, including rugs, plants, decorations, and anything else that might be on the floor or leaning against walls. Even small items can obstruct the installation process and potentially get damaged.
- Furniture Removal: This is the big one. All furniture must be completely removed from the installation area. This includes sofas, tables, chairs, beds, dressers, and any other movable items. If you have large, heavy furniture, consider enlisting the help of friends or family. If that’s not possible, discuss options with us or your installation team, as they may be able to recommend furniture removal and storage services.
- Appliances: If appliances like refrigerators, washing machines, or dryers are in the installation area, they will need to be moved. It’s often best to disconnect these appliances and move them to a safe location outside the work area. If you are unsure of how to safely disconnect appliances, please contact a professional.
- Closets and Storage Spaces: Don’t forget to empty closets and storage spaces within the installation area. Clothes, shoes, boxes, and other items should be removed to provide a clear workspace.

2. Clean and Tidy: Ensuring a Smooth Installation
Once everything is removed, it’s time to clean the area. This helps ensure a clean and smooth surface for the new flooring.
- Vacuum or Sweep: Thoroughly vacuum or sweep the entire area to remove dust, dirt, and debris. Pay close attention to corners and edges.
- Remove Existing Flooring: If you are having old flooring removed by the installation team, ensure they have clear access to do so. If you are removing the old flooring yourself, ensure it is completely gone, including any underlay or adhesive residue.
- Check the Subfloor: If possible, inspect the subfloor for any damage, unevenness, or moisture issues. If you notice any problems, inform your flooring installer immediately. They can assess the situation and advise on the necessary repairs or levelling that may be required.
3. Creating Space: Ensuring Accessibility for Installers
Installation professionals need ample space to work efficiently and safely.
- Clear Pathways: Ensure clear pathways from the entrance of your home to the installation area. This includes hallways, doorways, and any other areas the installers will need to access.
- Protect Surrounding Areas: If the installation area is adjacent to other rooms, consider covering the floors in those rooms with protective sheets or drop cloths to prevent dust and debris from spreading.
- Provide Parking: If possible, provide parking for the installation team close to your home. This will make it easier for them to unload materials and equipment.
- Pet and Child Safety: Keep pets and children away from the installation area during the process. This will prevent accidents and ensure the installers can work without distractions.
4. Communication is Key: Addressing Concerns and Questions
Open communication with your flooring installation team is essential for a successful project.
- Confirm Installation Details: Before the installation day, confirm the installation date, time, and any specific instructions with your flooring company.
- Address Any Concerns: If you have any concerns or questions, don’t hesitate to ask your installer. They are there to help and ensure you are happy with the process.
- Provide Contact Information: Ensure your installer has your contact information in case they need to reach you during the installation.
5. Post-Installation: Allow Time for Settling
Once the installation is complete, allow time for the flooring to settle.
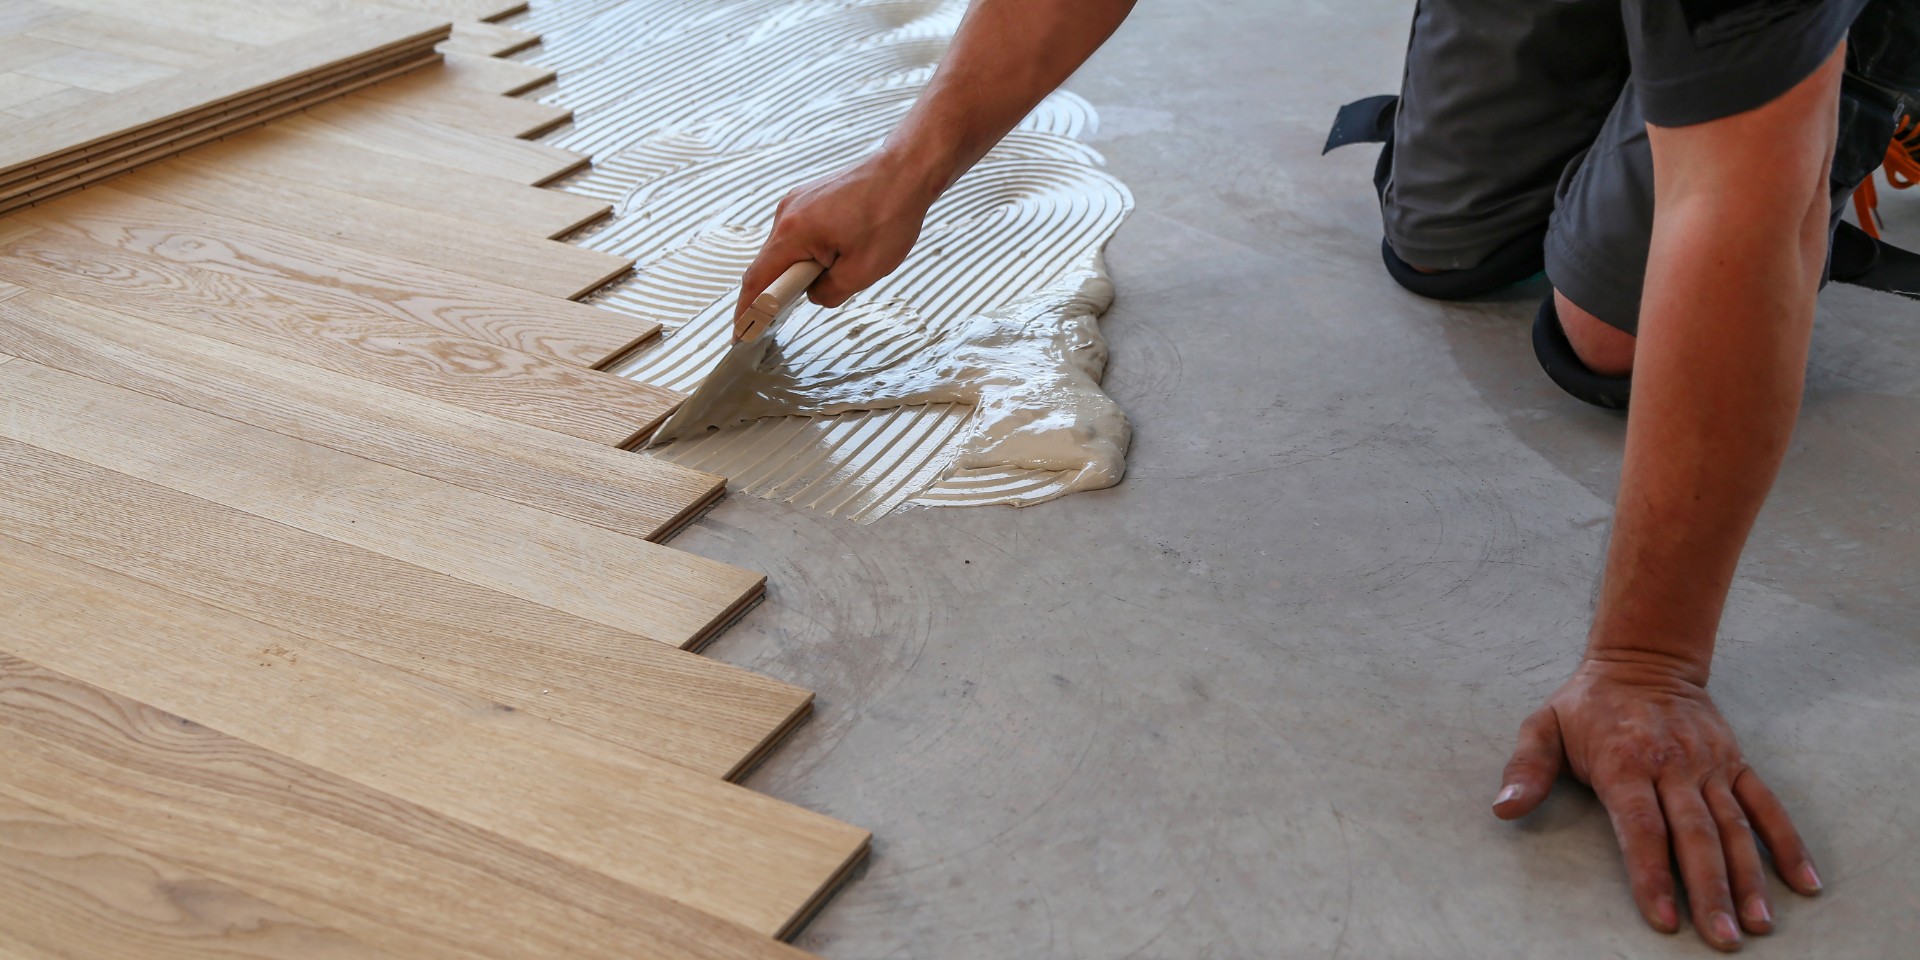
- Avoid Heavy Traffic: Avoid heavy traffic on the new flooring for at least 24 hours after installation. This will allow the adhesive to cure properly. If you chose glue down installation of your new flooring, you will need to refrain from walking on it or reinstating furniture for 24 hours to allow the glue to cure properly.
- Replace Furniture Carefully: When replacing furniture, use furniture pads to protect the new flooring from scratches and dents.
- Follow Maintenance Instructions: Follow the manufacturer’s instructions for cleaning and maintaining your new flooring.
By following these simple steps, you can ensure a smooth and efficient flooring installation experience. With a little preparation, you’ll be enjoying your beautiful new engineered timber, hybrid, or laminate floors in no time!
Need more help? Download our handy installation guide for tips on preparing your home for installation day!
Is Professional Installation Essential for Engineered Timber Flooring?
Engineered timber flooring is a fantastic choice for homeowners who want the timeless beauty of natural wood with added durability and stability. However, the...

How to Choose the Right Colour of Engineered Timber Flooring for Your Home
Choosing the right colour of engineered timber flooring for your home can transform your living space. Timber flooring is not only durable and visually...